Coffee Detonator: Unterschied zwischen den Versionen
(Die Seite wurde neu angelegt: „{{Projekt |projectname=Coffee Detonator |subcat=Mühlen |Images={{ProjektImages |projectimage=29.1.jpg }}{{ProjektImages |projectimage=29.2.jpg }}{{ProjektImag…“) |
K |
||
| Zeile 1: | Zeile 1: | ||
{{Projekt | {{Projekt | ||
|projectname=Coffee Detonator | |projectname=Coffee Detonator | ||
| − | |subcat= | + | |subcat=Mills |
|Images={{ProjektImages | |Images={{ProjektImages | ||
|projectimage=29.1.jpg | |projectimage=29.1.jpg | ||
Version vom 31. Januar 2019, 05:21 Uhr
|
|
Coffee Detonator Basic Data Category: Mills URL (first publication): https://learn.adafruit.com/coffee-detonator/
Project status:
Technical documentation Maturity of the project:
no no
Other
Assembly instructions are editable: Bill of materials is editable: Design files are in original format: No Free redistribution is allowed licence: No
Project management
Open-o-meter: 0 Product category: Home & Garden Contains original non-electronic hardware: Contains original electronic hardware: Contains original software: |


Inhaltsverzeichnis
Description
Overview
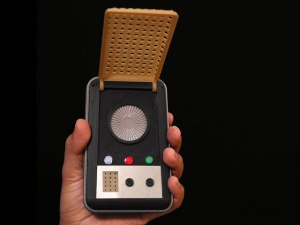
Wile E. Coyote's ACME catalog may have never listed a coffee grinder, but if it had, it would probably have looked a bit like this.
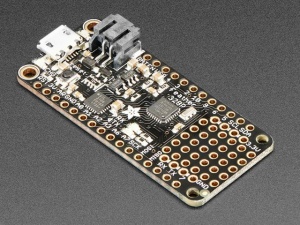
This is the guide to controlling a coffee grinder with a TNT blasting plunger you never knew you needed It is admittedly pretty darned specific however you can use the techniques here to use nearly any high-powered AC device as a switch for your microcontroller projects. Plus, the addition of the controllable power outlet module means you can instruct your microcontroller to turn on and off a second AC powered device, such as a blender, drill, lamp, or pump.
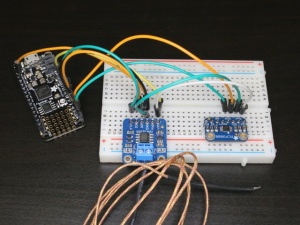
Materials
Besides the electronics parts listed above, you'll need a 1000uF electrolytic capacitory, and need a source of AC power that you'd like to use as a switch, such as a TNT blasting machine or hand-cranked generator.
You'll also need something that can be plugged into AC to trigger, such as a coffee grinder, blender, lamp, or pump.
A small wooden, cardboard, or plastic box to use as enclosure will be helpful, as well as a pair of #6 x 1" screws, nuts, washers, lock washers, and wing nuts to use as terminal posts.
This guide was first published on Apr 12, 2017. It was last updated on Dec 03, 2018. This page (Overview) was last updated on Apr 12, 2017.
Related Guides
You have been successfully subscribed to the Notification List for this product and will therefore receive an e-mail from us when it is back in stock
For security reasons, an e-mail has been sent to you acknowledging your subscription. Please remember that this subscription will not result in you receiving any e-mail from us about anything other than the restocking of this item.
If, for any reason, you would like to unsubscribe from the Notification List for this product you will find details of how to do so in the e-mail that has just been sent to you
