Micro greens -- Low-Tech Lab
|
|
Micro greens -- Low-Tech Lab Basic Data Category: Projects URL (first publication): http://lowtechlab.org/wiki/Culture_de_jeunes_pousses/en
no no
Other
Design files are in original format: No Free redistribution is allowed licence: No
|

Inhaltsverzeichnis
Description
Micro greens
- 0
Tutorial de Catégories :
Description
In a few days it is possible to grow micro greens, alternative to sprouted seeds, for cooking dishes or salad.
In a few days it is possible to grow micro greens, alternative to sprouted seeds, for cooking dishes or salad.
Sommaire
Sommaire
jeunes pousses, culture, agriculture, microgreens, terre, terreau, plantes, plante, farming en fr 1
Matériaux
- Seeds of untreated edible plants (if possible from organic farming)
- Undrilled containers (trays, pots, cupolas, etc.)
- Seedling soil
- Rainwater
Outils
- Sprayer
- Scissors
Étape 1 - Prepare the culture medium and sow
- Place the potting soil in the containers of your choice on a thickness of 3 to 4 centimeters. For example, you can use half-shells of coconut or food trays as semi-pot.
- Moisten the potting soil with a sprayer.
- Sow the seeds in a dense way. Ideally the seeds do not touch each other.
- Sprinkle with the sprayer without flooding the trays (or pots, coconuts, etc.)
- Put seedlings in the dark
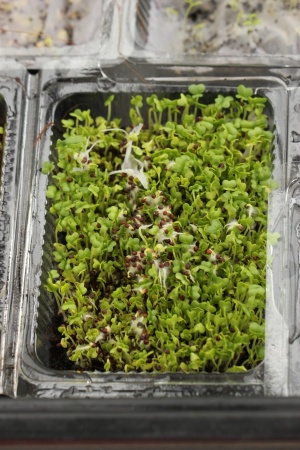
Note: In the photo opposite we can see culture trays of different species of Asian cabbage. Each species is present in two trays and a sheet of toilet paper has been placed on a tray per species. The goal is to try to speed up germination by keeping the environment moist. The results are presented later in the tutorial.
Étape 2 - Manage seedlings
Species germinate at different rate. It is therefore necessary to monitor and water the seedlings regularly (without having a soaked soil).
When the majority of the seeds of the same container have germinated, place the crop in the light and continue to water to keep the soil moist.
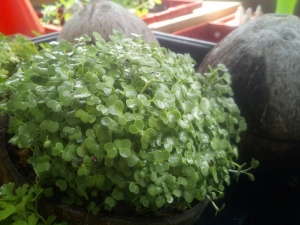
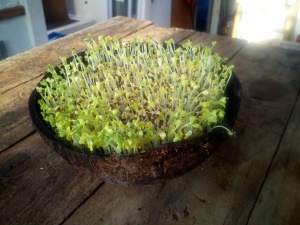
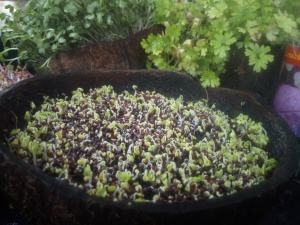
Étape 3 - Pak choi seedling in coconut
Some photos of coconut pak choi (a variety of Chinese cabbage) without using toilet paper.
One half of the coconut shell was used as a seedling pot, the other half was used to cover the seedlings to put them in darkness and limit the loss of water by evaporation.
Étape 4 - Micro greens harvesting
Micro greens growth stops when the majority of plants have two real leaves (not the two cotyledons, the two primordial leaves that leave the seed at the beginning of germination and contain some of the reserves).
arvesting is done with scissors, cutting the base of the plants. The roots are not consumed, unlike sprouted seeds.
Notes et références
- Directed by Thomas Piboum and Karel Janik for Nomade des Mers.
26/01/2018 par .
Vous avez entré un nom de page invalide, avec un ou plusieurs caractères suivants :
+ General Reviews 
