Solar multicooker -- Low-Tech Lab
|
|
Solar multicooker -- Low-Tech Lab Basic Data Category: Projects URL (first publication): http://lowtechlab.org/wiki/Multicuiseur_solaire/en
no no
Other
Design files are in original format: No Free redistribution is allowed licence: No
|
Inhaltsverzeichnis
- 1 Description
- 1.1 Solar multicooker
- 1.1.1 Description
- 1.1.2 Sommaire
- 1.1.3 Sommaire
- 1.1.4 Introduction
- 1.1.5 Étape 1 - Build the polystyrene structure.
- 1.1.6 Étape 2 - Cover the inside with aluminium or survival blanket (silver side up)
- 1.1.7 Étape 3 - Build the wood structure.
- 1.1.8 Étape 4 - Attach the reflective panels.
- 1.1.9 Étape 5 - Build the oven door.
- 1.1.10 Étape 6 - Cook.
- 1.1.11 Étape 7 - Build the dryer.
- 1.1 Solar multicooker
- 2 + General Reviews
Description
Solar multicooker
- 0
Tutorial de Catégories : ,
Description
Solar oven + Heat saving slow cooker+ dryer.
Solar oven + Heat saving slow cooker+ dryer.
Sommaire
Sommaire
Solaire, Cuisson, four, marmite, LT4Refugees en fr 1
Introduction
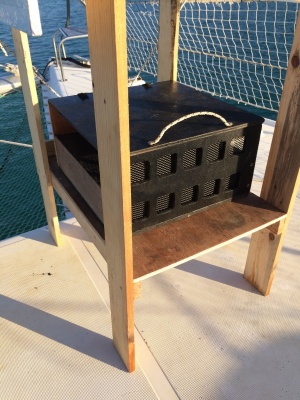
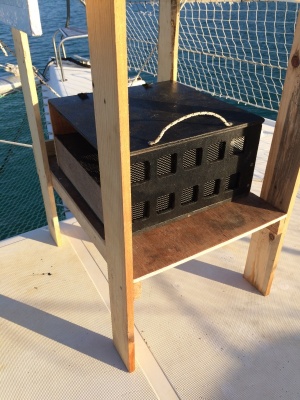
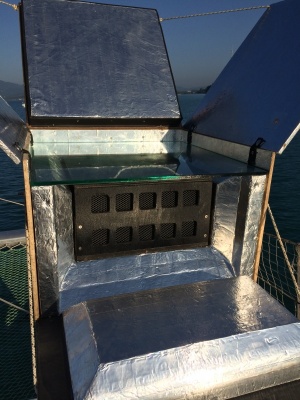
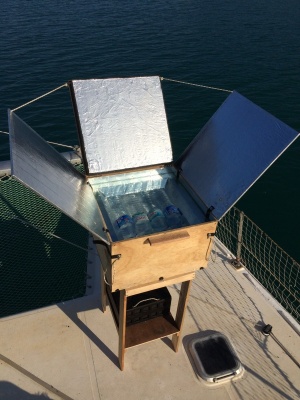
This model combines different low-tech technologies. The solar oven traps the sun's rays and concentrates them behind a glass window to increased the temperature in the cooking chamber. If the insulation of the oven is thick enough, the cooking will continue even with the panels closed. When the oven is hot, if the door is open, the hot environment is perfect for drying fruit because they are protected from the direct sunlight.
Ps : A »The closed box can be used as a cooler.
Matériaux
• Polystyrene boards • Wood boards. • 8mm glass (size: 50cmX50cm) • Aluminium scotch or survival blanket ( silver side outwards ). • Pop-rivets. • Inner tube • Cords. • Screws.
Outils
• Cutter • Saw • Screw driver • Riveting machine
Étape 1 - Build the polystyrene structure.
Étape 2 - Cover the inside with aluminium or survival blanket (silver side up)
Étape 3 - Build the wood structure.
Étape 4 - Attach the reflective panels.
The use of the inner tube for the hinges enables a stable position and the right tension. The cords will help to keep the panels to 90° in relation to the sunlight. They also attach the panels to the base when they are closed.
Étape 5 - Build the oven door.
The door is also insulated to minimize the thermal bridges.
Étape 6 - Cook.
Once hermetically sealed, the oven's temperature can reach up to 90°C. The cooking tray helps by absorbing the sunlight. This oven is designed to store and warm eight normal water bottles of 1,5L.
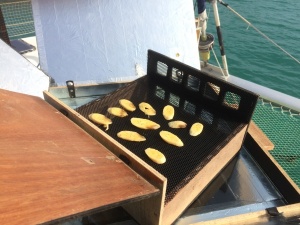
Étape 7 - Build the dryer.
Shielded from the sunlight with a ventilation grill.
30/09/2018 par . Published
Vous avez entré un nom de page invalide, avec un ou plusieurs caractères suivants :
+ General Reviews 
